Draw 1 vs Draw 3 in Klondike Solitaire: How the Deck Really Works
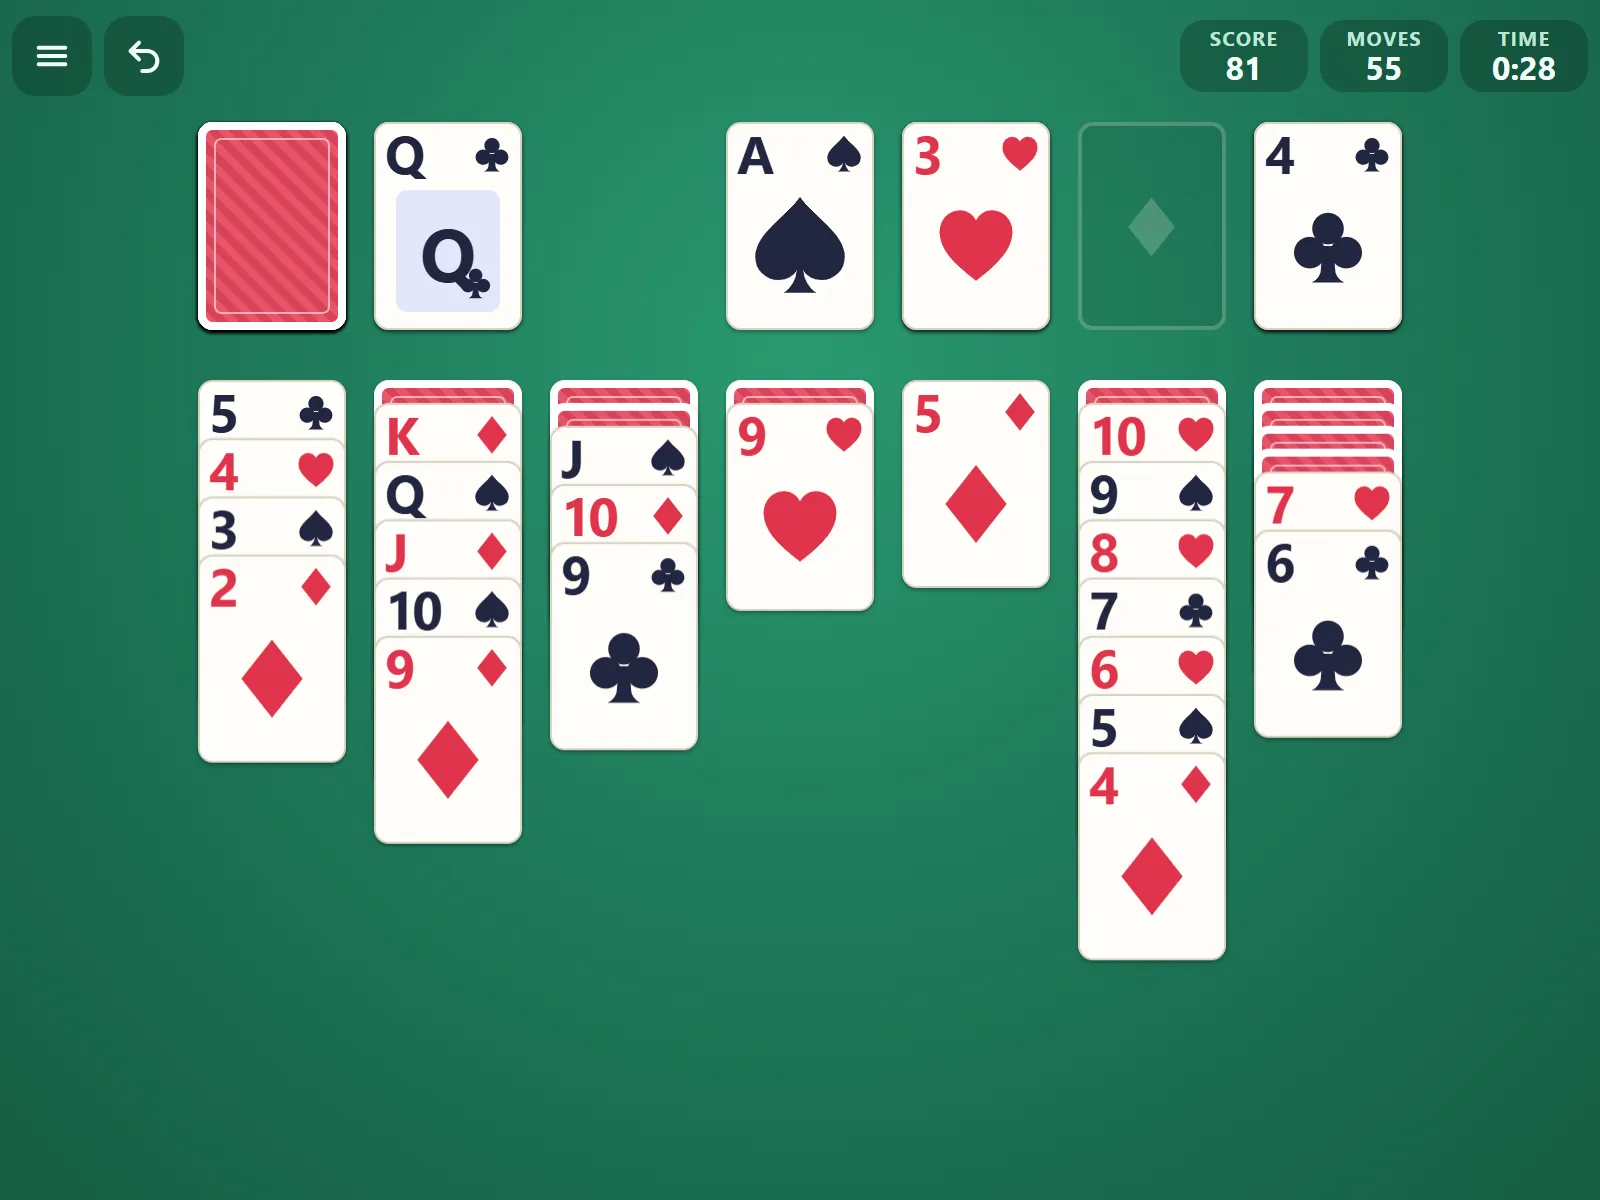
Everyone who plays Klondike Solitaire for a while hears that Draw 3 is the hard mode. The usual explanation is “you see cards three at a time,” which is true and not very useful. The real reason is arithmetic, and it’s about the stock: the face-down deck in the corner and the face-up waste pile next to it.
Rules and scoring basics are on the Klondike Solitaire game page. This post is only about the deck.
24 cards, and how many you can reach
A deal puts 28 cards into the seven tableau columns. That leaves 24 cards in the stock.
In Draw 1 you flip one card at a time, so every one of those 24 is playable at some point on every pass. Skip a card now and it comes back next time around. Nothing is ever out of reach for long.
In Draw 3 the cards come off in threes and only the top card of the waste can be played. If you never play from the waste, the cards you get to use are numbers 3, 6, 9, 12, 15, 18, 21 and 24. That’s 8 of the 24. The other 16 sit in the middle or bottom of their group, and on the next pass they land in exactly the same spot again. And the pass after that.
So two-thirds of the deck is locked until you do something about it.
Unlocking the other 16
What you do about it is play cards off the waste. Each card you take from the waste (to the tableau or a foundation) shifts every later card in the stock one position earlier. The groups of three get cut differently, and different cards end up on top.
Label the top of the stock A, B, C, D, E, F, G and so on:
| Situation | How the cards turn over | Cards you can play |
|---|---|---|
| Pass 1, no waste plays | A B C, then D E F, then G H I … | C, F, I … |
| Pass 2, still no plays | exactly the same groups | C, F, I … again |
| Pass 2, but you play C when it shows | C leaves; B is now on top of the waste | B becomes playable too |
| Pass 3, after C is gone | A B D, then E F G, then H I J … | D, G, J … — new cards |
Taking C out near the front of the deck changed the top card of every group behind it. One play, and the rest of the pass is a different set of cards.
That’s the part most people miss. A waste play in Draw 3 also decides which cards you’ll be offered on every pass after this one.
Using that at the table
Watch the first pass. Go through the whole stock once before you commit to much. Note where the cards you want are sitting. If the red 8 you need is buried in the middle of a group, that’s a reason to play something from earlier in the deck so the groups shift.
Count before you play. A needed card in the middle of its group moves to the top next pass if you remove one card ahead of it. If it’s at the bottom of its group, you need to remove two. It takes a few seconds to count, and that’s usually the whole difference between reaching the card and not.
Sometimes leave the deck alone. It cuts both ways. A waste play can also push a card you could reach into the middle of a group. If the current grouping already hands you what you need, stop touching the deck and work the tableau.
Prefer tableau moves when both options help. A card in the stock will come around again. A face-down card in a column only comes free when you clear what’s on top of it, and those face-down cards are what actually decide whether a game can be won.
In Draw 1, let cards sit. Since everything cycles, there’s no rush to grab a waste card the moment it fits somewhere. A black 6 might be more useful left in the deck until you know which of two red 7s should get it.
What recycling costs
In our game, turning the waste back over into the stock costs 100 points in Draw 1 and 20 points in Draw 3. The gap makes sense. A Draw 1 pass shows you every card, so it’s priced high. A Draw 3 pass shows a third of them, and you’re expected to go around several times.
For score play:
- In Draw 1, aim for as few passes as you can. Play everything the waste allows before you flip it back.
- In Draw 3, recycling itself isn’t the problem. A pass where you play nothing from the waste is. It shows you the same eight cards you already saw and charges 20 points for the privilege.
The time bonus is 700,000 divided by your time in seconds, for wins of 30 seconds or longer. It’s the biggest single piece of the score, so a quick, slightly messy win usually beats a slow, careful one in either mode.
Picking a mode
If you’re new to Klondike, start with Draw 1. You learn how the tableau behaves without fighting the deck at the same time.
Draw 3 is for when you want the planning. Every deal in our game is still winnable in Draw 3.
For high scores, Draw 1 games tend to finish faster, and faster means a bigger time bonus.
Whichever you pick, all 500 of our deals have been solved by a computer in both Draw 1 and Draw 3. A Draw 3 game that looks dead has a way through, and it usually involves playing a waste card to re-cut the groups. Undo goes back as far as 500 moves, so back up a few and try shifting the deck by one.