Block Fit has no timer and nothing falls. You have an 8x8 board and a tray of three pieces, and you put each piece somewhere on the board. Fill a row or a column completely and it clears. The game ends when none of the pieces left in the tray fits anywhere.
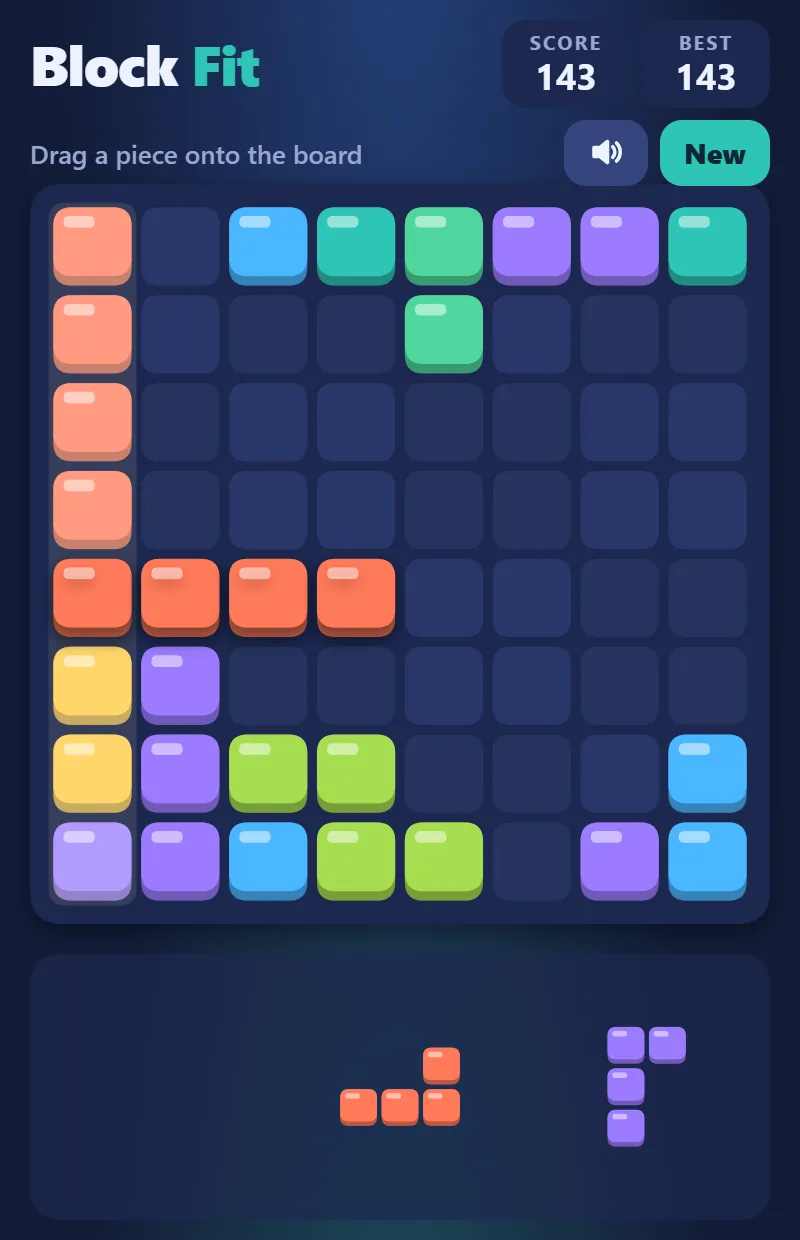
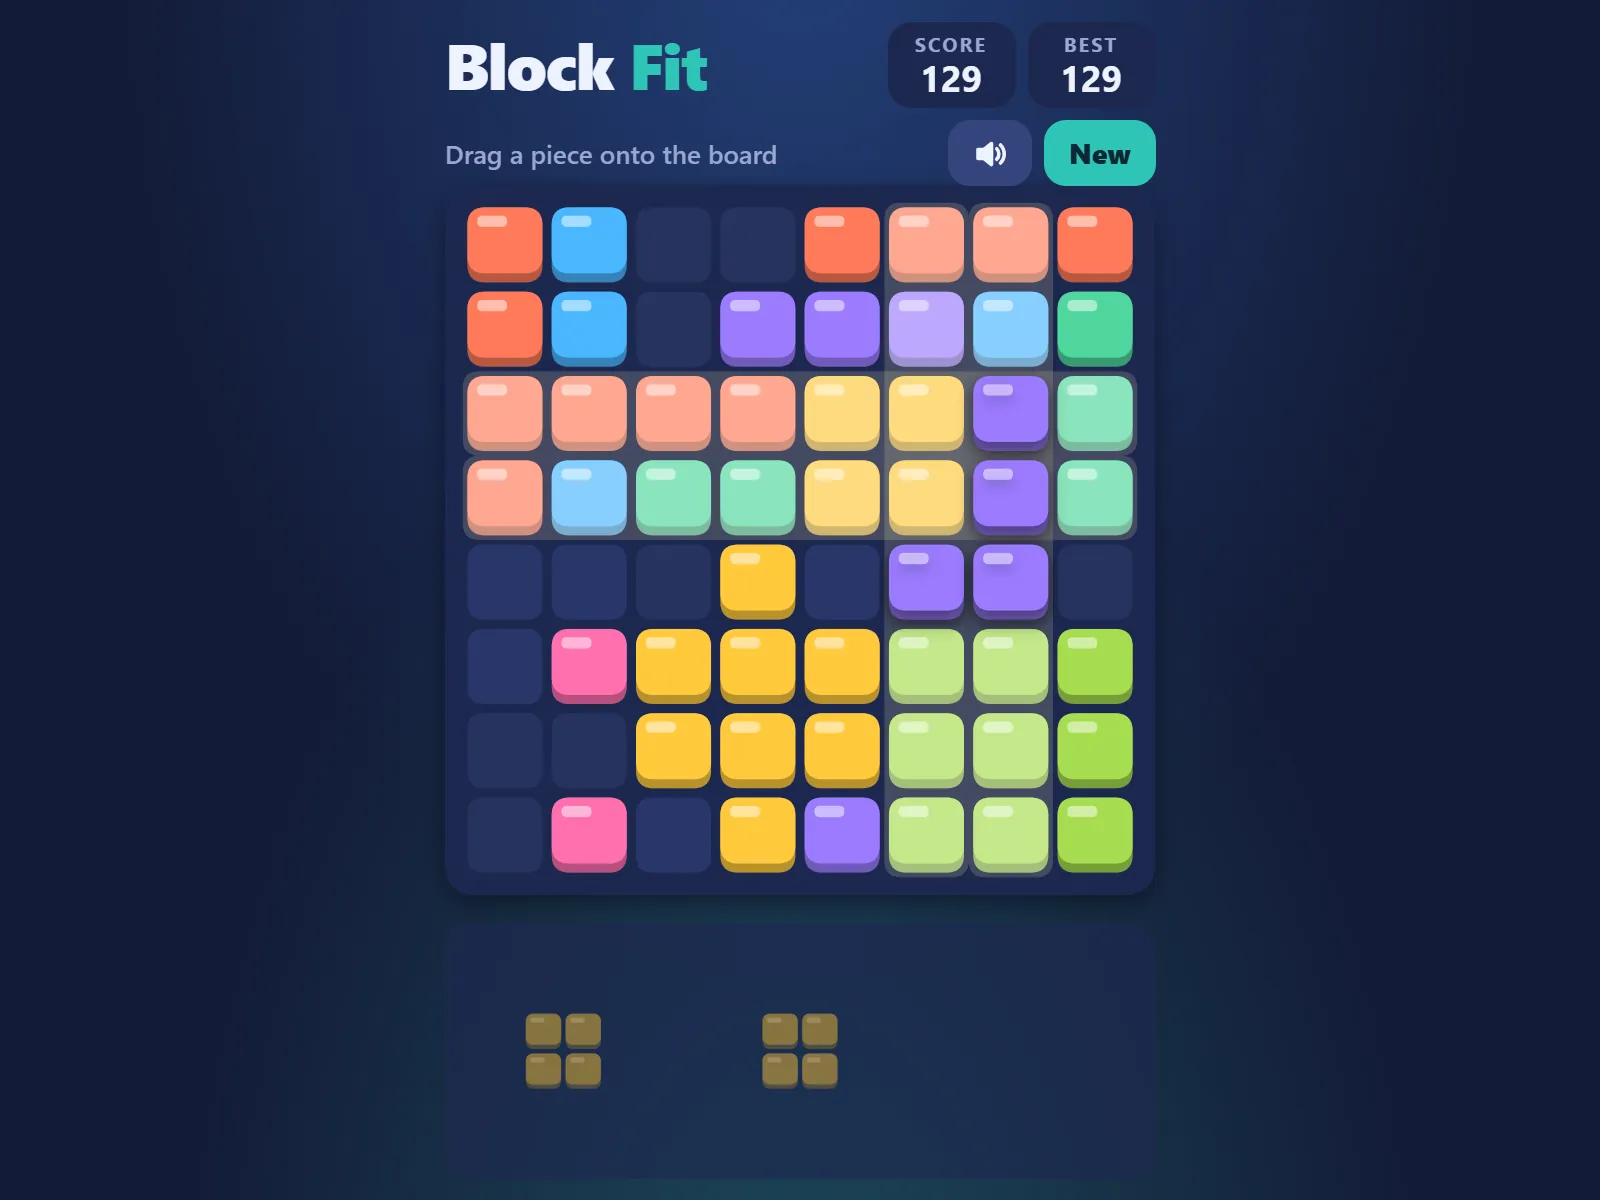
Pieces don’t rotate, and that’s where the difficulty comes from. You can’t twist a piece to make it fit, so you have to keep the right shape of space open before it shows up.
Placing pieces
Drag a piece from the tray onto the board. On a touchscreen it rides a little above your finger so you can see where it’s going. While you drag, a see-through copy snaps to the grid, and any lines that placement would finish start to glow. Let go when it’s where you want it.
You can also tap a piece to select it, then tap a cell. The piece is centered on that cell (for even sizes, the upper or left of the two middle cells) and nudged inward if it would hang off an edge. If it would overlap blocks, it shakes and nothing happens.
A row or column clears the moment its eighth cell fills. Rows and columns finished by the same placement clear together, so one piece can take out a row and a column at once.
Place the three pieces in any order. The next tray only comes after all three are down.
A tray piece that has no legal spot on the current board fades out. It’s a warning, not a verdict. Clearing a line with your other pieces might make room for it.
The pieces
We made our own set of 15 shapes. Counting each direction a shape can face separately, that’s 37 pieces. Some shapes come up more than others:
| Shape | Cells | Share of deals |
|---|---|---|
| Single block | 1 | about 5% |
| Domino | 2 | about 9% |
| Bars of 3, 4 and 5 | 3 to 5 | about 23% combined |
| 2x2 square | 4 | about 11% |
| 3x3 square | 9 | about 4% |
| 2x3 slab | 6 | about 5% |
| Small corner | 3 | about 11% |
| Big 3-by-3 corner | 5 | about 5.5% |
| L, J and T shapes | 4 | about 19% combined |
| S and Z shapes | 4 | about 8% combined |
Each shape’s share is split evenly across its directions. An L appears in all four orientations, each a separate piece with its own fixed facing.
How trays are dealt
Every new tray is checked against your board before you see it. If none of the three pieces fits anywhere, the tray is re-dealt, up to 25 times. If that still fails, one of the three is swapped for a piece that does fit. So a fresh tray never arrives dead. You can still run out of room partway through one, though, and that’s how most games end.
Points
Each placement scores 1 point per block in the piece. If it completes lines, you also get a clear bonus based on how many lines went at once, multiplied by your streak.
| Lines cleared at once | Clear bonus |
|---|---|
| 1 | 10 |
| 2 | 30 |
| 3 | 60 |
| 4 | 100 |
| 5 | 150 |
| 6 | 210 |
(The formula is 5 × lines × (lines + 1), if you’d rather not memorize a table. Six is the most one piece can manage: a 3x3 square finishing three rows and three columns.)
Streak. Every placement in a row that clears at least one line adds 1 to your streak. The first clearing placement is x1, the next x2, then x3 and x4, and it tops out at x5. A placement that clears nothing resets it to zero. The streak carries over between trays, and the hint line under the title tells you what your next clear is worth.
All clear. If a clear leaves the board completely empty, add 300.
Example: your streak is at 1 and you drop a 2x2 square that finishes two rows. That’s 4 for the blocks plus 30 × 2 for the clear, 64 points total, and the streak is now 2.
Board, tray, score, streak and best score are saved in your browser, so reloading the page puts you right back where you were.
What keeps you alive
We wrote a simple test bot while tuning the game. Placing pieces at random, it lasted about 13 placements on average. Following the first four tips below, it lasted over 100. They’re not complicated.
Keep a 3x3 space open. The 3x3 square and the big corners end most games. Always have one empty 3x3 area somewhere, usually in a corner, so a big piece has somewhere to land.
No single-cell gaps. An isolated empty cell only takes a single block, and singles are about one deal in twenty. Before you let go of a piece, check you’re not sealing off a one-cell pocket.
Look at all three pieces before placing one. A long bar placed first can take the only spot your 2x3 slab could use. Find a home for each, then place the awkward one first.
Fill from the walls inward. That keeps your empty space in one big block instead of scattered strips.
Set up crosses. A row and a column finished by the same piece is 30, not 10. Leave a row and a column both missing the cell where they cross, then drop a single or a corner into it.
Feed the streak, within reason. The multiplier climbs quickly, so several one-line clears in a row can beat one big clear. If keeping the streak alive means leaving a one-cell gap, let the streak go.
Deal with faded pieces early. A faded piece has nowhere to go right now. Use your other pieces to clear a line and make room before it’s the only one left.
FAQ
Can I rotate pieces?
No. Shapes like the L come in all four directions, but each direction is its own piece and keeps its facing.
Can I get a tray where nothing fits?
Not a fresh one. At least one piece of every new tray fits the board, and we checked this over 5,000 simulated games. A game can still end partway through a tray.
Where does a tapped piece land?
The cell you tap becomes the piece’s center (for even sizes, the upper or left of the two middle cells), shifted inward if it would hang off the board. If it overlaps blocks, the piece shakes and nothing is placed.
Is my game saved if I close the tab?
Yes, after every move, and it’s restored when you come back. Clearing your browser’s site data resets it along with your best score. The speaker button toggles sound, and the game remembers that too.